THIS PROCEDURE IS FOR PRE v2.x BOARDS ONLY
- Remove the inputs or display unit from the machine.
- Plug in micro USB cable between selected unit and your computer.
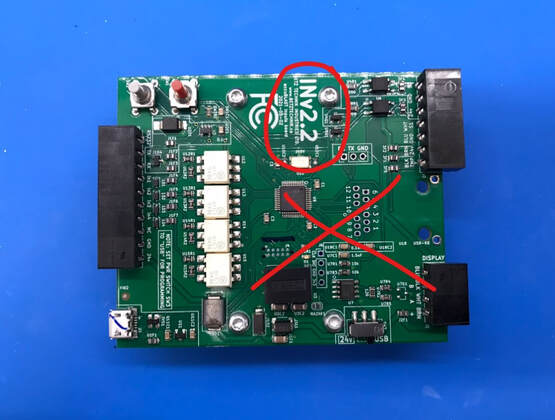
- Press and hold A (for the display board) or ISP (for the inputs board).
- Press and release RST button while still continuing to hold the button in step 3.
- Release A or ISP button.
- The unit should now show up as a removable drive on your computer ("CRP DISABLED").
- In the drive, there is a file called "firmware". Select and delete this file.
Be careful when selecting what file to program the unit with. Selecting the wrong program can cause permanent damage. If you have a PLASTIC inputs box, you MUST use plastic inputs box only firmware of the unit will be destroyed. Display and Inputs firmware versions must match. Ensure the display and inputs unit are programmed with the same version number (e.g. Display v1.6 for the display and Metal Inputs v1.6 for the inputs unit).
8. Copy the new firmware file (probably from your downloads folder) and paste it into the CRP DISABLED drive.
9. Wait for the file transfer to complete.
10. Press RST on the unit. Programming is now complete.
9. Wait for the file transfer to complete.
10. Press RST on the unit. Programming is now complete.